
Hanging a picture with wire sounds simple – until you realize it’s hanging crooked, the nail is in the wrong spot, or the wire keeps sliding. Most people have learned this the hard way. The good news is that how to hang a picture with wire becomes completely stress-free once you know the right technique.
This guide walks you through every step, plus the one calculation that takes all the guesswork out of finding the nail position.
What You’ll Need
- Picture frame with wire already attached
- Hammer
- Picture-hanging nail or hook
- Tape measure
- Pencil
- Level (or a level app on your phone)
- Painter’s tape (optional but helpful)
Step-by-Step: Hanging a Picture With Wire
Step 1: Find Your Hanging Height
Decide where the center of the picture should sit. The standard rule is eye level at 57-60 inches from the floor – this is what most galleries use. For a dining room or above a sofa, center the art 6-8 inches above the furniture piece.
Mark this center point lightly on the wall with a pencil.
Step 2: Measure the Frame
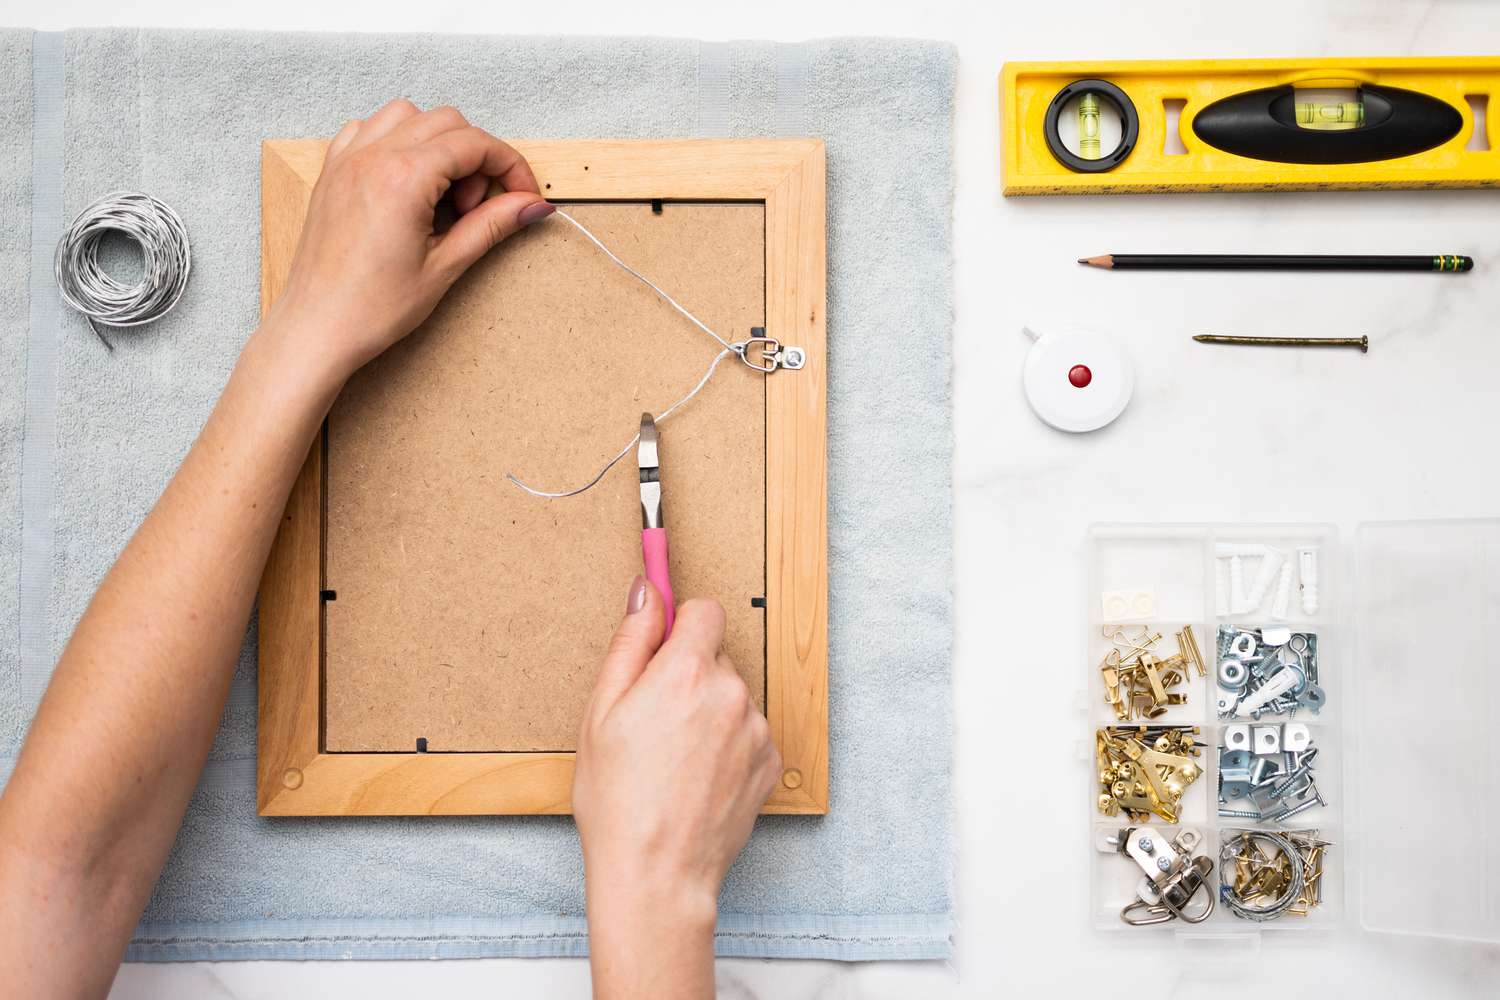
Lay the frame face-down on a flat surface.
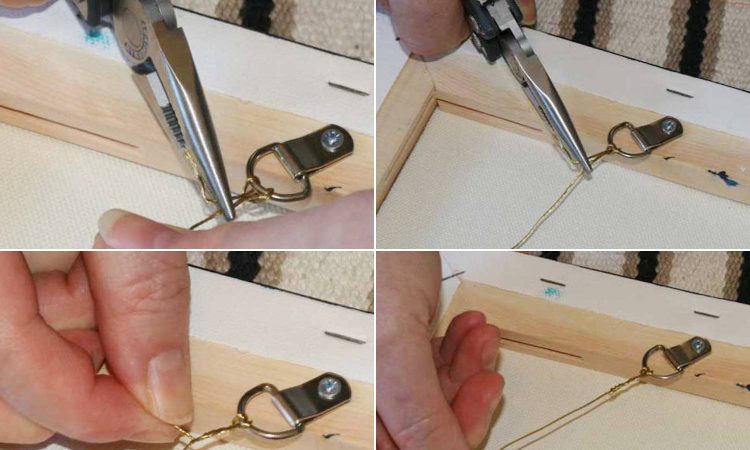
Find the wire: pull it taut upward toward the center as if it were hanging on a hook. Measure from the top of the frame to the highest point the wire reaches when pulled tight.
Let’s call this Wire Distance (WD).
Step 3: Calculate the Nail Position
This is the step most people skip – and it’s why pictures end up in the wrong spot.
Formula:
> Nail position = Desired center height − (half of frame height) + Wire Distance
Example:
- Desired center of art = 60 inches from floor
- Frame height = 20 inches → half = 10 inches
- Wire Distance (taut) = 4 inches
- Nail goes at: 60 − 10 + 4 = 54 inches from the floor
Mark this point on the wall. This is where your nail goes.
Step 4: Drive the Nail
Use a picture-hanging hook rather than just a nail – hooks grip the wire better and are less likely to let the frame shift sideways.
Drive the nail at a slight downward angle (about 45 degrees into the wall). This gives it much better holding power than going straight in.
Step 5: Hang and Level
Hang the wire on the hook. Step back and check – but don’t trust your eyes alone. Place a small level on top of the frame or use your phone’s level app.
If it’s slightly off, adjust the wire left or right on the hook. The wire will naturally slide toward center, but you can coax it either direction.
Step 6: Prevent Sideways Drift
This is a pro tip most people never hear: place a small piece of painter’s tape or rubber bumper pads on the back corners of the frame where it touches the wall. This stops the frame from swinging or tilting over time – especially important on smooth painted walls.
Wire Types and Weight Limits
| Wire Type | Best For | Weight Limit |
|---|---|---|
| Twisted picture wire (thin) | Small frames under 5 lbs | Up to 10 lbs |
| Twisted picture wire (heavy) | Medium frames | Up to 30 lbs |
| Braided steel wire | Large, heavy artwork | Up to 50+ lbs |
| Stainless steel cable | Gallery-style, very heavy | 75+ lbs |
Always check the weight of your frame and compare it to the wire rating. For anything over 20 lbs, consider using two hooks instead of one – it distributes weight and reduces tilt.
Common Mistakes to Avoid
- Not pulling the wire taut when measuring – this throws off your nail position
- Using a single nail for very heavy frames – use two hooks, spread apart
- Skipping the level check – what looks straight to the eye rarely is
- Driving the nail straight in – angled nails hold significantly better
- Forgetting to account for the frame’s top edge – the formula above handles this for you
For Drywall vs Plaster Walls
On drywall, standard picture-hanging hooks work fine for frames under 30 lbs. For heavier pieces, locate a stud or use drywall anchors.
On plaster walls, be gentle – plaster cracks under impact. Use a smaller nail, pre-drill a pilot hole if needed, and drive slowly.
Once you know the formula and have the right hook, hanging a picture with wire takes under five minutes and comes out perfectly level every time.
